 Save to Pinterest
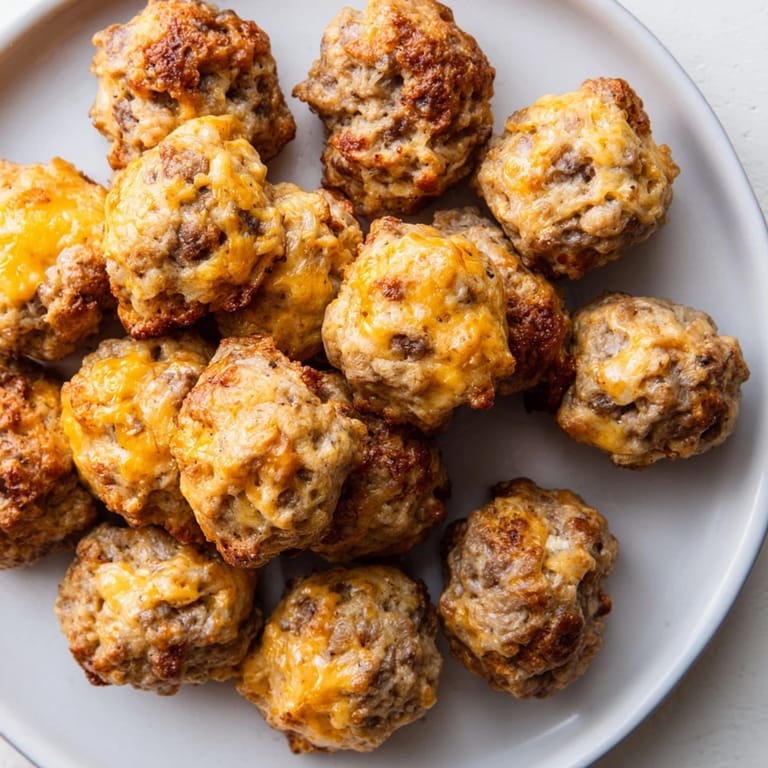
 I stumbled onto these while helping my neighbor prep for a last-minute game day gathering. She pulled a tray of golden, bite-sized puffs from the oven, and before I could ask what they were, I'd eaten four. The savory chicken and sausage melded so seamlessly with the sharp cheddar that it barely tasted like Bisquick—it tasted like pure comfort, the kind of thing that disappears within minutes at any table.
The first time I made them myself, my kids stationed themselves by the oven like security guards, their noses pressed to the glass. When I pulled the tray out and set it on the counter to cool, my youngest looked up and said, 'These smell like something from a real restaurant.' That simple moment stuck with me—it's not fancy cooking, but it tastes like you care.
Ingredients
- Cooked chicken breast, shredded: Buy a rotisserie chicken if you're short on time, or poach and shred your own; either way, this is your protein anchor.
- Breakfast sausage: The uncooked kind breaks apart easily as it browns, creating those savory pockets of flavor throughout.
- Sharp cheddar cheese, shredded: Don't use pre-shredded from a bag if you can help it; freshly shredded melts smoother and tastes less waxy.
- Bisquick baking mix: This is the binder that holds everything together and gives them that tender, slightly fluffy interior.
- Whole milk: Just enough to bring everything together without making the mixture soggy; cold milk works better than warm.
- Garlic powder, onion powder, black pepper, and smoked paprika: These four seasonings are the quiet backbone—they make you wonder what the secret is.
Tired of Takeout? 🥡
Get 10 meals you can make faster than delivery arrives. Seriously.
One email. No spam. Unsubscribe anytime.
Instructions
- Set your stage:
- Preheat the oven to 350°F and line your baking sheet with parchment paper. This prevents sticking and makes cleanup feel less like punishment.
- Build the mixture:
- In a large bowl, combine the shredded chicken, raw sausage, cheddar, Bisquick, garlic powder, onion powder, black pepper, and paprika. The raw sausage will look odd at first, but it's doing exactly what you want it to do.
- Bring it together:
- Pour in the milk and mix with your hands until everything feels evenly distributed. Your hands are the best tool here—you'll feel any pockets of dry mix that still need moisture.
- Shape and space:
- Using a tablespoon or a small cookie scoop, portion the mixture into 1 to 1.5-inch balls and arrange them on your prepared sheet with a little room between each one. They'll puff slightly as they bake, so don't crowd them.
- Bake until golden:
- Slide the tray into the oven for 22 to 25 minutes, watching for that deep golden-brown color. They're done when you press one gently and it feels set, not doughy.
- Rest before serving:
- Let them cool on the baking sheet for five minutes—this firms them up so they hold together better. Serve warm with whatever sauce speaks to you.
 Save to Pinterest
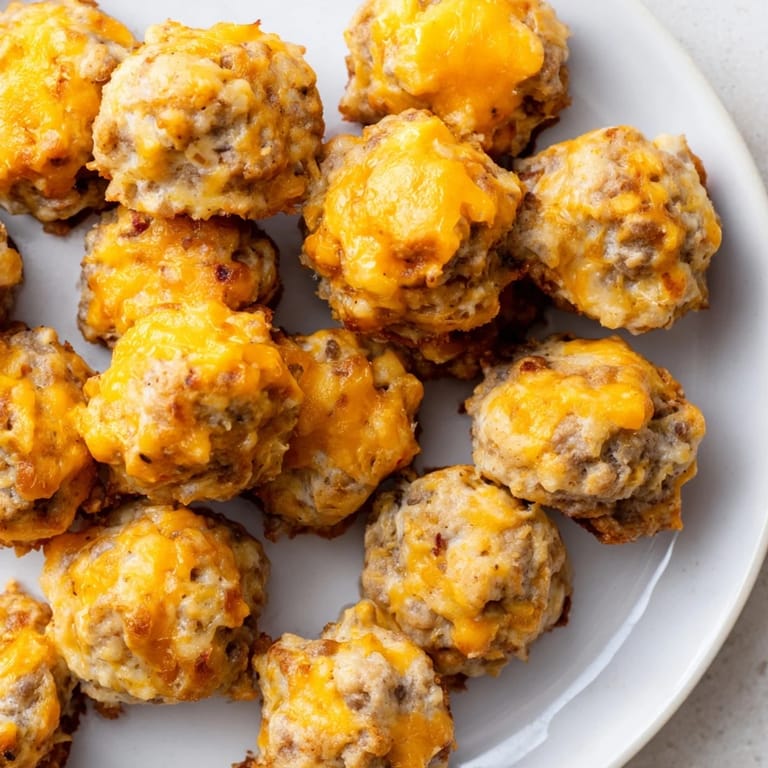
 I realized these weren't just snacks when my sister brought them to a potluck and people lined up asking for the recipe. It's funny how something so simple—no fancy techniques, no intimidating ingredients—can become the thing everyone remembers and requests again.
Making Them Your Own
The beauty here is flexibility. If you want heat, swap in spicy breakfast sausage or stir in half a teaspoon of crushed red pepper flakes. For a different flavor profile, try pepper jack cheese instead of cheddar, or blend in some gouda for earthiness. I've even added finely minced jalapeño to a batch, and it was phenomenal.
Do-Ahead and Storage
Shape the balls, freeze them on a baking sheet until solid, then transfer to a freezer bag—they'll keep for up to three months. Bake them straight from frozen, adding just three or four minutes to the cooking time. They also reheat beautifully; wrap leftovers in foil and warm them in a 300°F oven for about five minutes until they're hot all the way through without drying out.
Dipping Sauces and Serving
These shine with a good ranch dip, but don't stop there. Honey mustard brings a sweet-tangy note, and a tangy barbecue sauce feels right at home. I've also served them with a simple sriracha mayo for a small dinner party, and people kept circling back.
- Keep your sauce cold or at room temperature so it doesn't warm the balls and make them greasy.
- Make the balls and sauce ahead, then just bake when guests are about to arrive for that fresh-from-the-oven appeal.
- These work as breakfast bites too—pack them in a container for road trips or busy mornings.
 Save to Pinterest
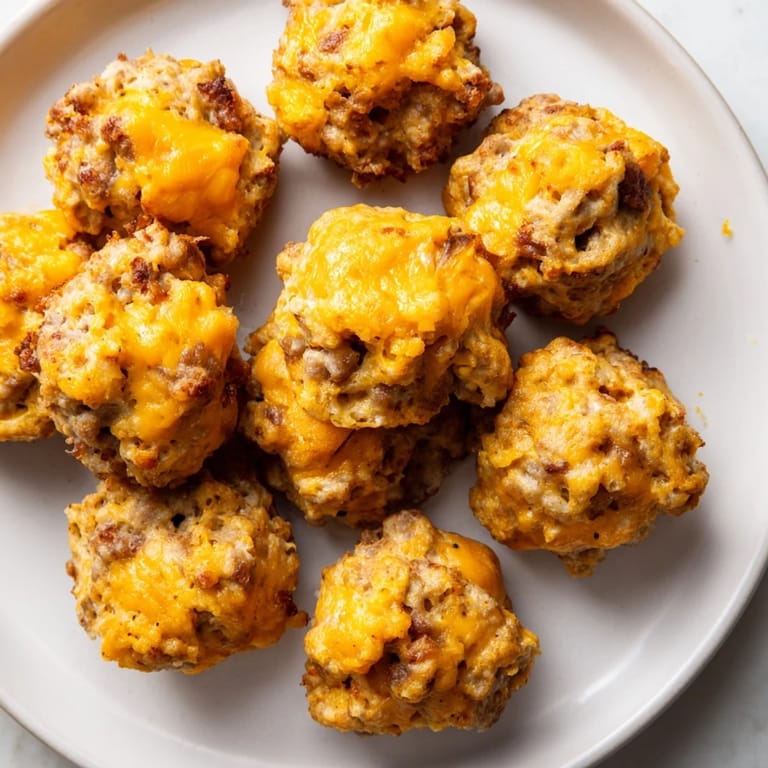
 These balls are proof that good food doesn't have to be complicated. They're the kind of thing you make when you want to feed people something real and watch them smile.
Common Recipe Questions
- → What is the best type of sausage to use?
Breakfast sausage, either pork or turkey, works well as it adds a savory and slightly spicy flavor. You can adjust according to your preference, including spicy varieties for more heat.
- → Can I substitute the cheddar cheese with another type?
Yes, cheeses like pepper jack or gouda offer different flavor profiles and melt nicely, providing a tasty variation to the dish.
- → How do I ensure the balls hold their shape during baking?
Mixing all ingredients thoroughly and using a baking mix with binding properties helps. Also, rolling firm balls and spacing them properly on the baking sheet prevents sticking and maintains shape.
- → What dipping sauces pair well with these bites?
Popular options include ranch, honey mustard, barbecue sauce, or any favorite savory dips that complement the cheesy and savory profile.
- → Can these be prepared ahead of time?
Yes, you can assemble the balls in advance and refrigerate until ready to bake. They also reheat well in the oven for convenient serving later.