 Save to Pinterest
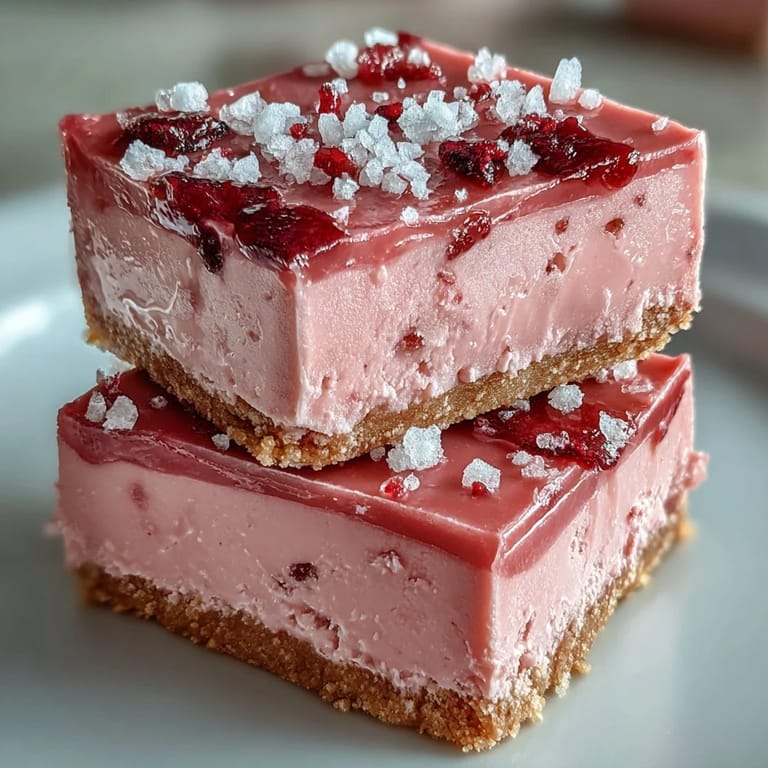
 The first time I made these No-Bake Strawberry Fudge Squares, my kitchen smelled like a summer berry patch in the middle of winter. I was craving something sweet but couldn't bear to turn on the oven during a particularly brutal heatwave. The vibrant pink color that emerged as I stirred the strawberry powder into the creamy white chocolate base made me smile instantly. My fingers were stained pink for hours afterward, a cheerful reminder of the delicious treat waiting in the refrigerator.
Last summer, I brought these squares to a backyard gathering where my friend was celebrating her promotion. The evening was warm and the conversation flowed, but when I unveiled these bright pink treats, the chatter momentarily stopped. My normally reserved colleague actually closed his eyes when he took his first bite. Later, as fireflies began to appear and wine glasses were refilled, three different people asked me for the recipe, scribbling it down on napkins in the fading light.
Ingredients
- Freeze-dried strawberries: I discovered these magical flavor bombs at a specialty food store and they concentrate that perfect summer strawberry essence without adding extra moisture that would prevent the fudge from setting properly.
- White chocolate: Please use the best quality you can find as cheaper versions often contain vegetable fats instead of cocoa butter, which affects both the flavor and texture of the final squares.
- Sweetened condensed milk: This is the secret to achieving that perfect fudgy consistency without having to worry about candy thermometers or precise cooking temperatures.
- Graham crackers or digestive biscuits: The subtle honey notes in graham crackers complement the strawberry flavor beautifully, creating a base that enhances rather than competes with the star of the show.
Tired of Takeout? 🥡
Get 10 meals you can make faster than delivery arrives. Seriously.
One email. No spam. Unsubscribe anytime.
Instructions
- Prep your pan:
- Line your square pan with parchment paper, leaving those little handles of excess paper hanging over two sides. This simple step saves so much heartache later when you want to lift out the whole slab intact.
- Build your foundation:
- Mix those crushed biscuits with melted butter until every crumb is coated and the mixture feels like wet sand. Press it firmly into your pan with the back of a measuring cup for that perfectly even base.
- Create pink magic:
- Melt the white chocolate and condensed milk together slowly, stirring often so the chocolate doesnt seize. The mixture should look glossy and smooth, with no lumps hiding anywhere.
- Add the strawberry power:
- Fold in your strawberry powder with a light hand, watching as the mixture transforms into the most beautiful pink color. This is where patience rewards you as every speck needs to be incorporated.
- Let it set:
- Pour this pink heaven over your chilled crust and spread it into an even layer. The anticipation builds during those three hours of chilling time.
- Slice with precision:
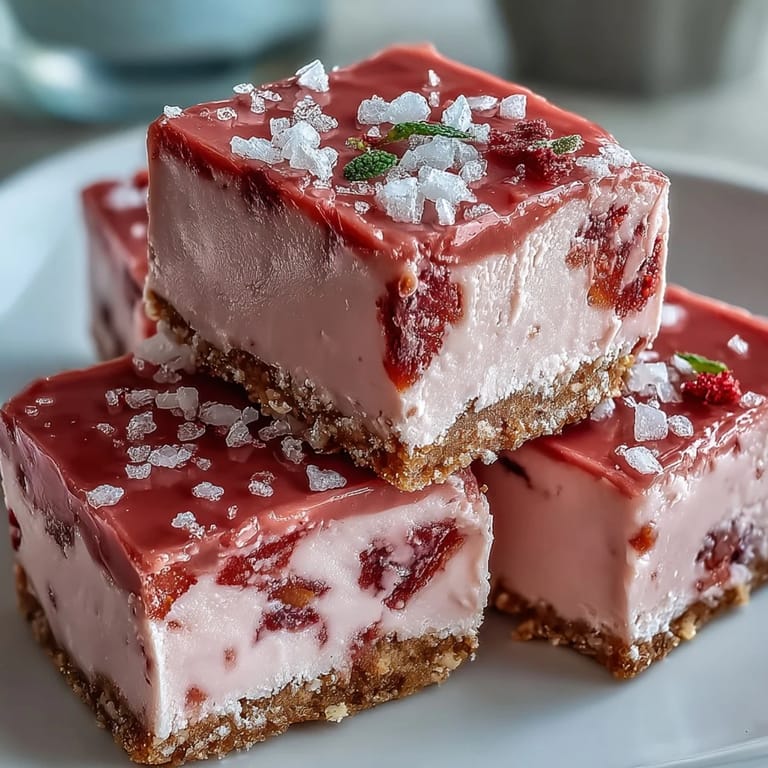
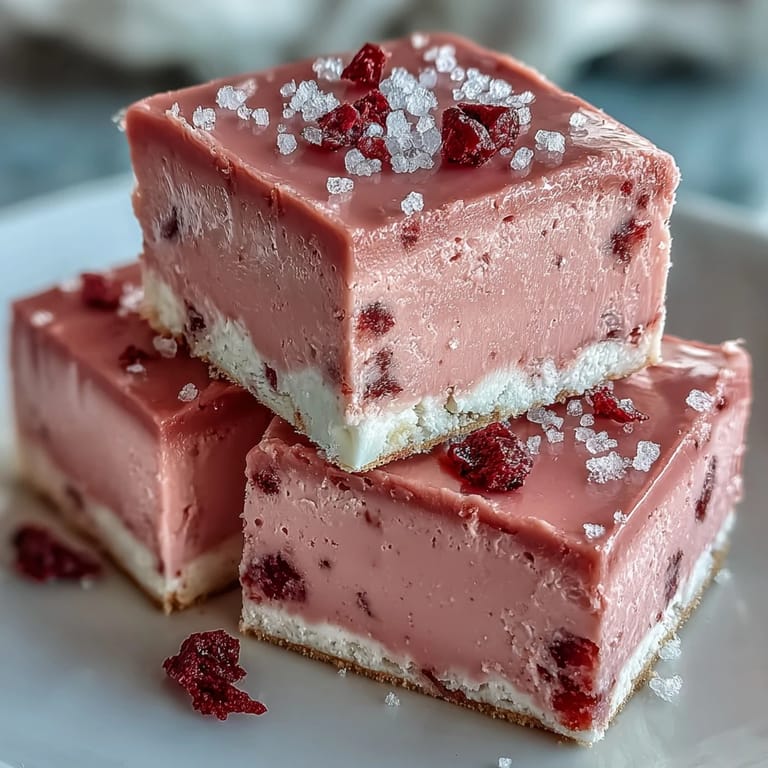
- Use a sharp knife dipped in hot water and wiped clean between cuts for those picture-perfect squares. Each clean slice reveals that beautiful contrast between the pink fudge and golden crust.
 Save to Pinterest
 On my sister-in-laws birthday, she requested these squares instead of traditional cake. We stuck a candle in one and sang while her four-year-old watched wide-eyed at the pink treat that Mommy loved so much. Later, as we sat around the kitchen table sharing stories, my brother mentioned that he had caught her sneaking squares from the refrigerator at midnight the last time I made them. She blushed but didnt deny it, and we all laughed knowing exactly how irresistible they can be.
Storage Tips
These squares develop even deeper flavor after a day in the refrigerator, almost like how a good stew tastes better the next day. Ive found that storing them in a single layer prevents the tops from getting marred, though stacking them with parchment paper between layers works well too. The squares maintain their perfect texture for about five days, though in my house they rarely last beyond two.
Flavor Variations
One rainy Sunday, I experimented with adding a half teaspoon of orange zest to the strawberry mixture, and the subtle citrus brightness elevated these squares to a whole new level. Another time, when I was low on freeze-dried strawberries, I used half strawberry and half raspberry powder, creating a more complex berry flavor that my husband declared was the best batch yet. Dont be afraid to play with these little adjustments, as they can transform this already wonderful treat into something uniquely yours.
Serving Suggestions
These bright pink squares deserve a moment in the spotlight when serving, arranged on a simple white platter with perhaps a few fresh strawberries scattered around. Though perfect on their own, Ive discovered they pair beautifully with a small scoop of vanilla ice cream when you want to make them more dessert-course appropriate, or alongside espresso for an afternoon treat that feels a bit sophisticated.
- Let the squares come to room temperature for about 10 minutes before serving to allow their full flavor profile to bloom.
- A tiny sprinkle of flaky sea salt on top just before serving creates an unexpected but delightful contrast to the sweetness.
- For special occasions, try dipping half of each square in dark chocolate for a stunning visual and flavor contrast.
 Save to Pinterest
 Every time I make these No-Bake Strawberry Fudge Squares, I find myself appreciating how something so vibrantly pink can bring so much joy to a table. They remind us that sometimes the simplest treats, requiring no fancy equipment or techniques, can create the sweetest memories.
Common Recipe Questions
- → Can I use fresh strawberries instead of freeze-dried?
Yes, you can substitute 100g of fresh strawberries puréed and strained. However, freeze-dried strawberries provide a more concentrated flavor without adding excess moisture that could affect the fudge texture.
- → How long do these squares need to chill before serving?
The fudge layer requires at least 2-3 hours in the refrigerator to firm completely. For best results, chill overnight to ensure clean cuts when slicing.
- → Can I make these dairy-free?
Absolutely. Substitute dairy-free white chocolate chips and coconut condensed milk for the traditional dairy ingredients. Use coconut oil or vegan butter for the crust.
- → What's the best way to get clean slices?
Use a sharp knife warmed under hot water and wiped clean between each cut. Let the squares sit at room temperature for 5-10 minutes before slicing for the cleanest edges.
- → How should I store these fudge squares?
Store in an airtight container in the refrigerator for up to 5 days. Place parchment paper between layers to prevent sticking. They can also be frozen for up to 2 months.
- → Can I omit the food coloring?
Yes, the food coloring is purely for visual appeal. The strawberry powder will naturally give the fudge a pale pink hue. For deeper color without dye, increase the amount of freeze-dried strawberries.