 Save to Pinterest
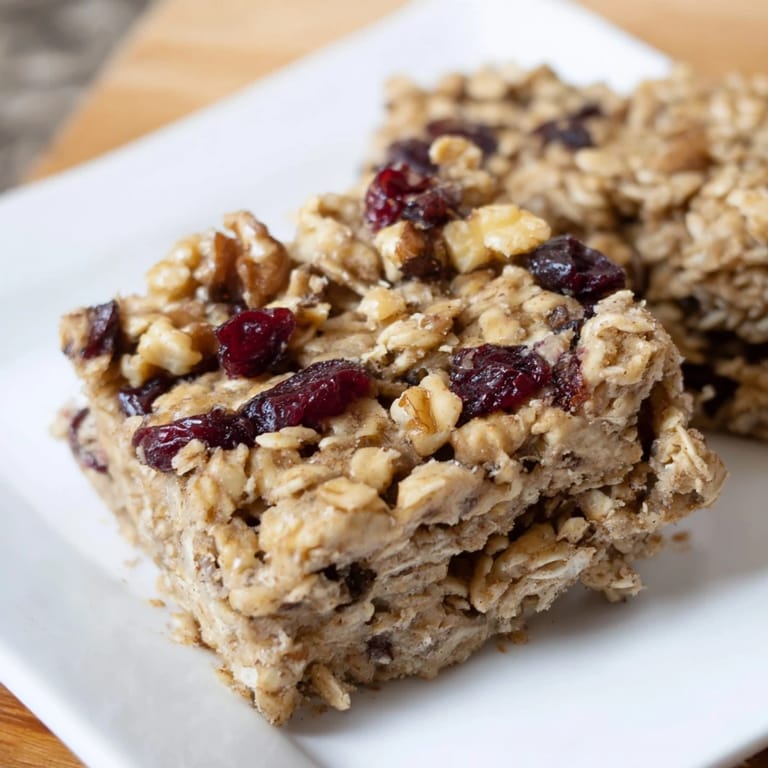
 I started making these bars on Sunday nights after realizing I'd spent way too many mornings grabbing whatever I could find on my way out the door. The kitchen would smell like cinnamon and maple while I prepped for the week, and I'd end up eating one warm from the pan before they even cooled. Now they're my favorite thing to wake up to, already wrapped and waiting in the fridge.
The first time I brought these to a morning meeting, someone asked if I'd bought them from a bakery. I didn't correct them right away because I was too busy enjoying how something this simple could feel that special. Later I admitted they took less than an hour start to finish, and now I get requests every few weeks.
Ingredients
- Old-fashioned rolled oats: The backbone of these bars, they give you that chewy texture that keeps you full without feeling heavy.
- Whole wheat flour: Adds structure and a subtle nutty flavor that pairs beautifully with the maple.
- Ground cinnamon: Warm and comforting, it makes the whole kitchen smell like a cozy fall morning.
- Baking powder: Just enough lift to keep the bars tender instead of dense.
- Salt: A small amount brightens every other flavor and balances the sweetness.
- Pure maple syrup: The real stuff makes all the difference, it caramelizes slightly as it bakes.
- Unsalted butter or coconut oil: Melted butter adds richness, coconut oil keeps them dairy free without losing moisture.
- Unsweetened applesauce: Keeps everything moist and cuts down on the amount of fat you need.
- Large egg: Binds it all together so the bars slice cleanly instead of crumbling apart.
- Vanilla extract: A teaspoon deepens the sweetness and rounds out the maple flavor.
- Chopped nuts: Walnuts or pecans add a little crunch and make each bite more interesting.
- Raisins or dried cranberries: Tiny bursts of sweetness that surprise you halfway through a bar.
Tired of Takeout? 🥡
Get 10 meals you can make faster than delivery arrives. Seriously.
One email. No spam. Unsubscribe anytime.
Instructions
- Prep your pan:
- Preheat the oven to 350°F and line an 8x8 inch baking pan with parchment paper, letting the edges hang over the sides. This makes lifting the whole batch out later incredibly easy.
- Mix the dry base:
- Combine the oats, whole wheat flour, cinnamon, baking powder, and salt in a large bowl. Whisk it all together so the spices distribute evenly.
- Blend the wet ingredients:
- In a separate bowl, whisk the maple syrup, melted butter, applesauce, egg, and vanilla until smooth and slightly glossy. The mixture should look cohesive, not separated.
- Combine everything:
- Pour the wet ingredients into the dry and stir gently until just combined. Overmixing makes the bars tough, so stop as soon as you don't see dry pockets.
- Fold in the extras:
- Add your nuts and dried fruit if you're using them, folding gently to distribute without breaking anything up.
- Spread and smooth:
- Transfer the batter to your prepared pan and press it evenly into the corners. A damp spatula works wonders here to get the top nice and flat.
- Bake until golden:
- Slide the pan into the oven and bake for 22 to 25 minutes, until the edges turn golden and a toothpick poked in the center comes out clean. The smell will tell you when they're close.
- Cool completely:
- Let the bars cool in the pan on a rack until they reach room temperature. Then lift them out using the parchment and slice into 12 even bars.
 Save to Pinterest
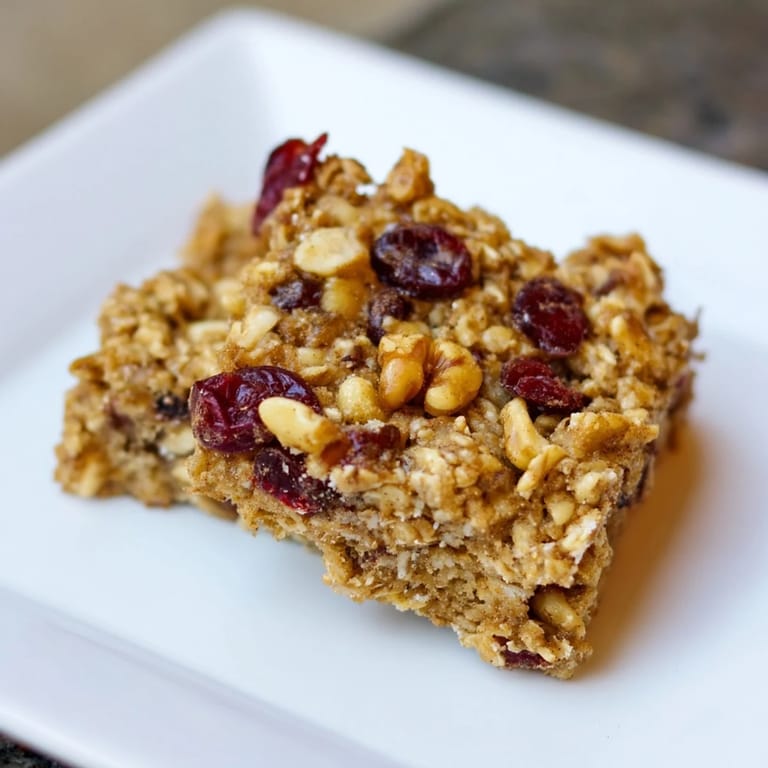
 One morning my neighbor knocked on the door asking what I was baking because the smell had drifted into the hallway. I handed her a bar still warm from the oven, and she came back an hour later asking for the recipe. That's when I realized these weren't just convenient, they were the kind of thing that makes people feel cared for.
Making Them Your Own
I've swapped the raisins for chocolate chips on days when I needed something a little more indulgent, and I've thrown in pumpkin seeds when I wanted extra crunch. The base is forgiving enough that you can experiment with whatever you have in the pantry without worrying too much about throwing off the balance.
Storage and Freezing
These bars keep beautifully in an airtight container on the counter for up to five days, but I usually freeze half the batch right away. Wrapped individually in parchment and tucked into a freezer bag, they thaw in about twenty minutes on the counter or ten seconds in the microwave. It's the easiest way to make sure you always have one ready when you need it.
Serving Suggestions
I love eating these on their own with a cup of black coffee, but they also pair wonderfully with a dollop of Greek yogurt and some fresh berries. On weekends I'll crumble one over a smoothie bowl or serve them alongside scrambled eggs for a more complete breakfast spread.
- Warm one up slightly and spread a thin layer of almond butter on top for extra protein.
- Drizzle a little extra maple syrup over a bar if you're serving it as dessert after dinner.
- Pack them in lunchboxes with an apple and some cheese for a balanced midday snack.
 Save to Pinterest
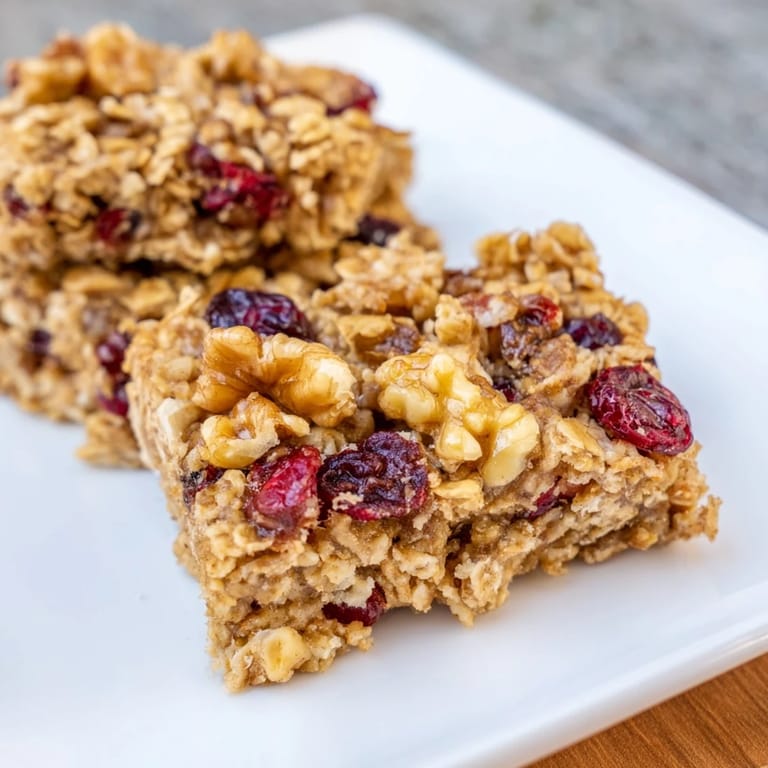
 Every time I pull a bar from the freezer on a hectic morning, I'm grateful I took forty minutes one Sunday to make them. They've turned rushed mornings into something a little calmer, and that's worth every bit of effort.
Common Recipe Questions
- → What makes these bars soft and chewy?
The combination of oats, applesauce, and melted butter helps to create a moist, tender texture that results in soft, chewy bars.
- → Can I make these bars without nuts?
Yes, nuts are optional and can be omitted or replaced with seeds if preferred for a nut-free version.
- → How can I substitute the egg for a vegan option?
Use a flax egg made by mixing 1 tablespoon ground flaxseed with 3 tablespoons water as a vegan alternative.
- → What is the best way to store these bars?
Store the bars in an airtight container at room temperature for up to 5 days or freeze for longer storage.
- → Can I add other flavor variations to these bars?
Yes, adding chocolate chips, seeds, or different dried fruits can provide tasty variations to suit your preferences.