 Save to Pinterest
 My first encounter with hojicha panna cotta happened on a quiet afternoon when a friend brought a small glass jar to my kitchen, its contents catching the light like liquid amber. She'd made it at a cooking class and insisted I taste it, watching expectantly as I took a spoonful and felt the creamy richness dissolve on my tongue, followed by this subtle, almost whispered warmth of roasted tea. It struck me that something so elegant could come from such simple ingredients, and that moment made me determined to master it myself. Now, whenever I make it, I'm transported back to that conversation and the way her eyes lit up when I asked for the recipe.
I made this for a dinner party where one guest had just returned from Tokyo, and watching her face when she tasted it was worth every minute of preparation. She closed her eyes, and I knew right then that I'd nailed the balance between the cream's silk and the tea's gentle roasted notes. The table went quiet for a moment, which is the highest compliment a dessert can receive.
Ingredients
- Heavy cream: This is your foundation, and using the good stuff makes all the difference, as it sets beautifully and tastes noticeably richer.
- Whole milk: It lightens the texture just enough so the panna cotta isn't overwhelming, balancing richness with elegance.
- Granulated sugar: Keep it simple and fine-grained so it dissolves completely into the cream without any grittiness.
- Hojicha loose leaf tea: Loose leaf is superior to bags because you get those roasted pieces and more robust flavor, plus you can see exactly what you're steeping.
- Powdered gelatin: The secret to silky panna cotta is blooming it first in cold water, which ensures even setting without lumps.
- Cold water: This seems minor, but cold water helps the gelatin bloom properly and prevents clumping when you whisk it in.
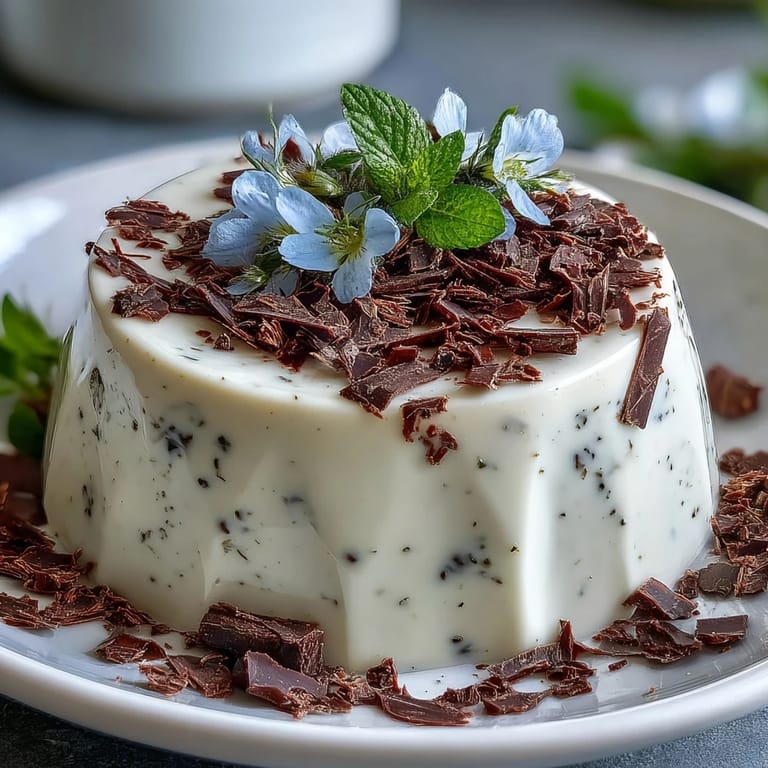
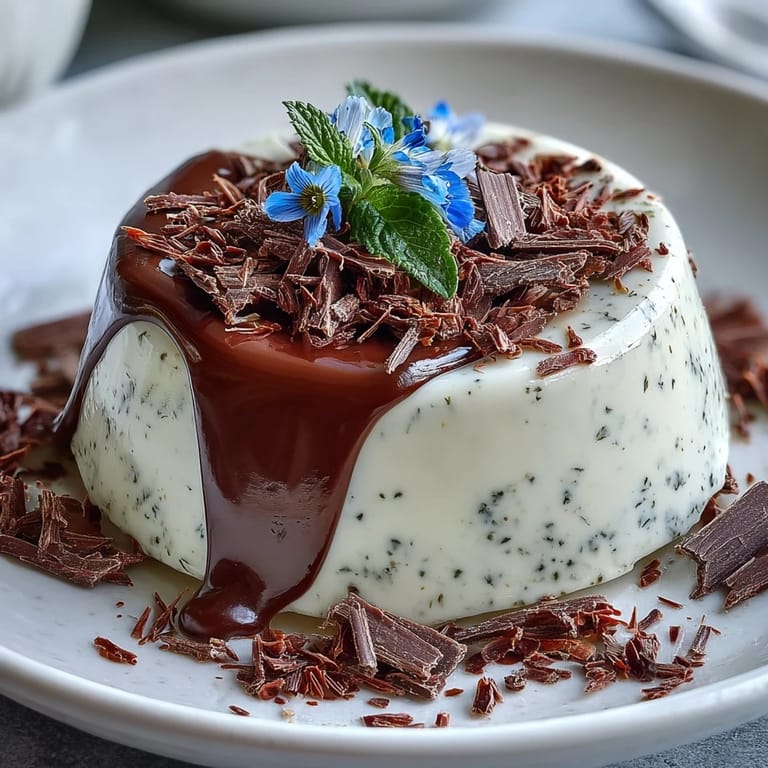
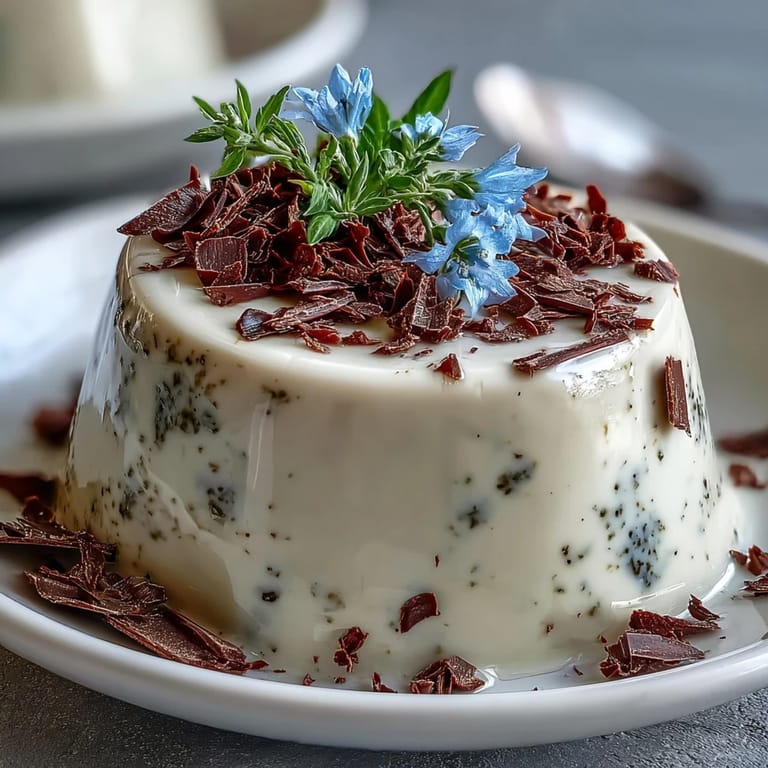
- Whipped cream, shaved chocolate, roasted nuts, or edible flowers: These are your finishing touches, but choose just one or two to let the hojicha shine.
Tired of Takeout? 🥡
Get 10 meals you can make faster than delivery arrives. Seriously.
One email. No spam. Unsubscribe anytime.
Instructions
- Bloom the gelatin:
- Sprinkle the gelatin over cold water in a small bowl and let it sit undisturbed for 5 minutes, watching as it absorbs the liquid and becomes spongy. This step is non-negotiable if you want a smooth, lump-free panna cotta.
- Warm the cream mixture:
- Combine the heavy cream, milk, and sugar in a saucepan and heat gently over medium-low heat until you see steam rising and tiny bubbles form around the edges, but never let it boil. This gentle approach keeps the cream silky and prevents any curdling.
- Steep the hojicha:
- Pour the hot cream mixture over the hojicha tea and let it sit for 7 to 8 minutes, allowing those roasted, toasty notes to infuse into every drop. You'll notice the aroma becoming deeper and more complex as it steeps.
- Strain with intention:
- Pour the mixture through a fine-mesh sieve into a clean bowl, using the back of a spoon to gently press the tea leaves and extract maximum flavor without breaking them into bits. This step determines whether your final panna cotta tastes like whispered hojicha or bold roasted tea.
- Reheat and incorporate gelatin:
- Return the strained cream to the saucepan and warm it gently until it's hot to the touch but not boiling, then pour in the bloomed gelatin and whisk for about a minute until completely dissolved. You'll feel the mixture change slightly in texture as the gelatin fully incorporates.
- Pour and cool:
- Divide the mixture evenly among 4 ramekins or serving glasses, then let it come to room temperature on the counter, about 20 minutes. This prevents condensation from forming on top during chilling.
- Chill until set:
- Cover loosely with plastic wrap and refrigerate for at least 4 hours, though overnight is ideal for the creamiest texture. The panna cotta is ready when it jiggles very slightly when you shake the ramekin.
- Serve with grace:
- If unmolding, run a thin knife around the edges and invert onto a chilled plate with a gentle shake, or simply serve directly in the glass for a more casual presentation. Top with your chosen garnish just before serving so it stays fresh.
 Save to Pinterest
 There was a moment during last year's holiday dinner when I brought out these little glasses of hojicha panna cotta and realized my grandmother, who'd never tried it before, was tearing up slightly after the first bite. She told me it reminded her of a cafe she'd visited in Kyoto decades ago, and suddenly this dessert became a bridge between her memory and my kitchen. That's when I understood that food like this doesn't just nourish the body, it carries stories and moments across time.
The Art of Perfect Steeping
Getting the hojicha flavor right is about respect for the tea itself, not drowning it in cream. The first time I made this, I steeped the tea for 15 minutes thinking more flavor meant better results, but the final panna cotta tasted burnt and bitter. Since then, I've learned that 7 to 8 minutes is the sweet spot where the roasted, almost nutty notes come through without any harshness.
Temperature Control Matters
I once got impatient and turned the heat up to medium instead of medium-low, and the cream developed a slightly grainy texture that I couldn't fix. Now I use a thermometer approach in my head, watching for that gentle steam rather than any vigorous activity on the surface. The slower you go, the silkier your result, which is why this dessert rewards calm, deliberate cooking over speed.
Serving Styles and Storage Secrets
Panna cotta is wonderfully flexible, and I've learned that serving it directly in the glass is often smarter than unmolding, especially if you're not serving immediately. The texture is creamier when it hasn't been sitting on a plate gathering condensation, and there's something intimate about eating straight from a pretty glass. Beyond that, these keep beautifully in the refrigerator for up to three days, making them perfect for planning ahead.
- Unmold only if you're serving within an hour, as sitting on a plate can cause the dessert to absorb moisture and lose its silky texture.
- For best results, chill the serving plates or glasses for at least 30 minutes before serving so the panna cotta stays cool longer.
- If you want to make these the night before a dinner party, simply cover them tightly and serve directly from the refrigerator without unmolding.
 Save to Pinterest
 This hojicha panna cotta has become my go-to when I want to feel like a skilled cook without spending hours in the kitchen. It's one of those rare recipes where simplicity and sophistication shake hands, and every time I make it, I'm grateful for that afternoon when my friend first shared it with me.
Common Recipe Questions
- → What does hojicha taste like in this dessert?
Hojicha brings roasted, earthy notes with subtle sweetness and low astringency. The toasty flavor complements the rich cream beautifully, creating a balanced dessert that isn't overly sweet.
- → Can I make this dessert ahead of time?
Absolutely. This sets perfectly in the refrigerator and keeps for up to 3 days. Make it a day before your event and garnish just before serving for the best presentation.
- → How do I know when the gelatin is fully dissolved?
The mixture should be clear without any granules visible. Whisk gently for about 1-2 minutes after adding the bloomed gelatin to ensure complete dissolution into the warm cream.
- → Can I substitute agar-agar for gelatin?
Yes, use 1 teaspoon of agar-agar powder instead of 2 teaspoons gelatin. Bring the mixture to a brief simmer after adding agar-agar to activate it properly, then cool slightly before pouring into molds.
- → What garnishes work best with hojicha panna cotta?
Light toppings that won't overpower the delicate tea flavor work best. Try whipped cream, shaved white chocolate, roasted nuts like hazelnuts, or edible flowers for an elegant finish.
- → Why strain the cream after steeping?
Straining removes tea leaves and sediment for a perfectly smooth texture. Pressing gently on the leaves extracts maximum flavor while keeping the custard silky and refined.