 Save to Pinterest
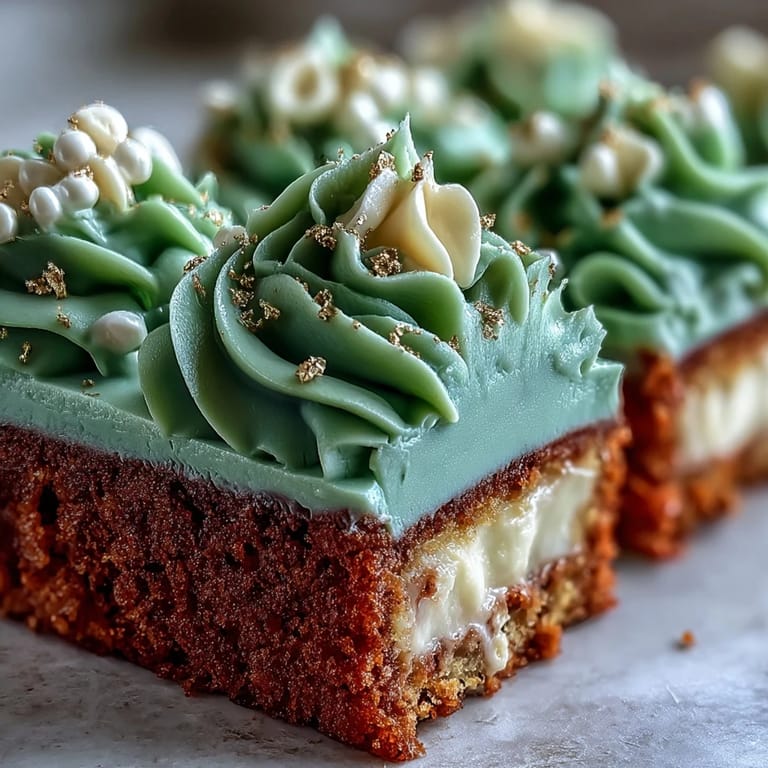
 As the breeze from an open window carried the sound of distant cheering, I found myself swirling sage green buttercream atop a sprawling sheet cake and humming along. There’s an undeniable excitement in the air when a graduation is around the corner—anticipation, relief, maybe a hint of sweet nervousness, too, not unlike making sure the cake bakes evenly in all corners. The meditative rhythm of mixing and smoothing reminded me why celebratory baking is so satisfying: it gives your hands something joyful to do and your kitchen a festive scent. Nothing says congratulations quite like a boldly frosted slice of homemade cake, especially when flecked with a touch of gold shimmer. For me, this cake became a way to join the festivities, even if my piping skills had their own version of a commencement speech.
Last June, while balloons popped in the background and a cap tassel tangled itself in my hair, I served this cake to my cousin’s graduating class (and their hungry siblings). We laughed as someone tried to sneak a corner piece for an extra edge of icing, and the green and gold theme became a marker for the day: soft, celebratory, with just enough sparkle to feel earned.
Ingredients
- All-purpose flour: Opt for a good quality flour to get the right crumb—sift it to avoid dense patches in your slice.
- Baking powder: This little scoop ensures a tender, light cake—freshness matters here, so double-check the date.
- Salt: Even a small pinch balances the cake’s sweetness and brightens the vanilla flavor.
- Unsalted butter: Begin with butter at true room temperature; it creams beautifully and sets the stage for a soft bite.
- Granulated sugar: Creaming this with butter is what makes the base fluffy and inviting.
- Eggs: Add them one by one, letting each disappear into the batter—room temp eggs help the batter emulsify.
- Pure vanilla extract: This is where the cake’s warmth comes from, so be generous with your measure.
- Whole milk: The fat content adds richness; I pull it out of the fridge early to avoid curdling the batter.
- Powdered sugar: Sifting is worth it for the smoothest, cloudlike buttercream.
- Heavy cream or milk: I start with less and add drops until I hit the frosting’s perfect swoop-able texture.
- Sage green gel food coloring: Gel is key—it colors vibrantly without watering down your icing.
- Gold edible luster dust: The finishing magic, best dabbed on with a dry brush or swirled into a buttercream accent.
- Clear vanilla extract or vodka: This helps blend the gold for that metallic sheen without affecting taste—vodka evaporates fast!
Tired of Takeout? 🥡
Get 10 meals you can make faster than delivery arrives. Seriously.
One email. No spam. Unsubscribe anytime.
Instructions
- Set Up the Celebration:
- Preheat your oven to 350°F (175°C), then grease and line your 12×18 inch sheet pan with parchment so nothing sticks during the big reveal.
- Whisk and Wonder:
- In a medium bowl, whisk the flour, baking powder, and salt, and watch for any little lumps so your crumb stays even.
- Butter and Sugar Symphony:
- Use an electric mixer to whip butter and sugar together until they're fluffy and pale—listen for the soft thump of batter against the bowl.
- Eggs and Vanilla, Meet the Mix:
- Beat in eggs one by one, letting each one vanish before the next arrives, then stir in a big splash of vanilla.
- The Alternating Act:
- Add the dry ingredients in three parts, alternating with the milk, beginning and ending with flour—take it slow to keep your batter light.
- Into the Pan and Oven:
- Smooth the batter into your pan and bake for 28–32 minutes; you’ll know it’s ready when a toothpick comes out with just a few tender crumbs.
- Make That Buttercream Dream:
- Beat the butter until it’s creamy, then slowly add the powdered sugar, vanilla, and salt, thinning with cream until it’s silky and thick.
- Tint and Reserve:
- Add sage green gel food coloring to most of your buttercream, saving out half a cup for gold touches later.
- Sage Green Canvas:
- Once your cake is cool, spread the sage green buttercream evenly, using an offset spatula for swoops and swirls.
- Gold Accents Shine:
- Mix gold luster dust with a few drops of clear vanilla or vodka, and gently brush or swirl it onto reserved buttercream piped details.
- Decorate Like You Mean It:
- Pile on graduation symbols or piping as inspiration strikes, and scatter gold sprinkles for that unmistakable celebration shimmer.
 Save to Pinterest
 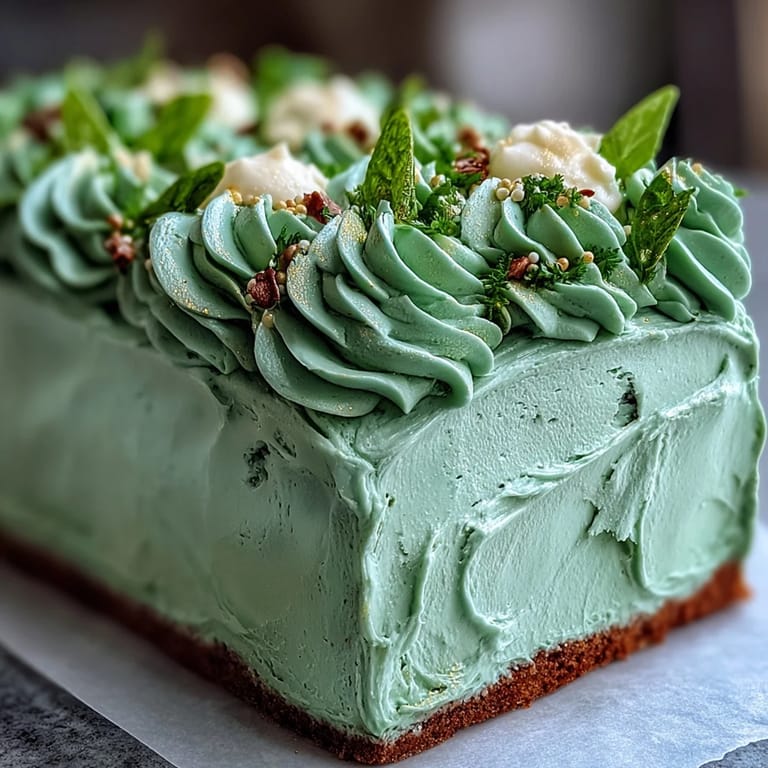 Save to Pinterest
 Watching the graduate take that first bite while confetti fluttered around us, I felt for a moment that all those careful steps and brushstrokes had counted for something bigger than dessert. More than a sweet treat, this sheet cake turned into a centerpiece for hugs, photos, and laughter that lasted well past the last crumb.
When the Buttercream Strikes Back
On a humid day, I once learned the hard way that buttercream can revolt—going loose and glossy before I could even reach for the piping bag. When this happens, a brief chill in the fridge can save the batch; after just ten minutes, it firms up, and piping crisp edges is back within reach.
Making It Personal
Sneaking a hint of lemon zest into the cake or swapping in almond extract is my quiet signature (and guests always wonder why the vanilla base tastes extra special). Using different sprinkles or initials in gold lets you tailor every batch to a new celebration, and sharing those design choices with the person of honor makes all the effort worth it.
Slicing, Storing, and Serving with Style
If you want clean, square cuts that look as good as bakery slices, chill the cake before you serve—just don’t forget to use a long, sharp knife wiped clean between cuts.
- Serve the cake slightly chilled on warm days for the best contrast of cool and creamy.
- Leftovers keep beautifully in the fridge, tightly covered for up to four days.
- The colors stay brightest if you avoid direct sunlight at your party table.
 Save to Pinterest
 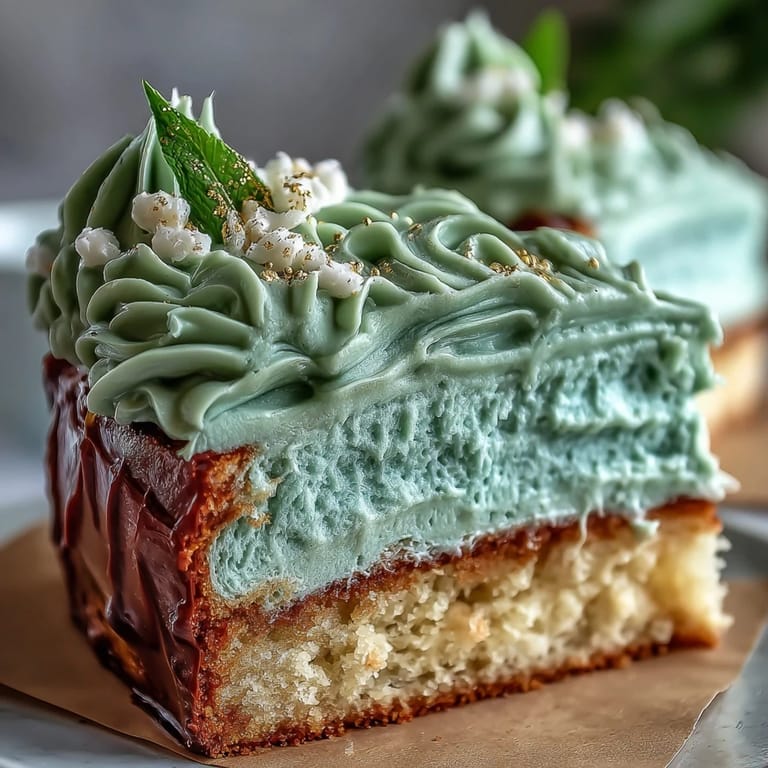 Save to Pinterest
 Whether you’re toasting to new beginnings or simply craving something beautiful and sweet, this sage green and gold sheet cake is a celebration you can taste. Here’s to every little milestone worth frosting in gold.
Common Recipe Questions
- → How long should I bake the sheet cake?
Bake at 350°F (175°C) for 28–32 minutes in a 12×18 inch pan. Check with a toothpick—it should come out clean or with a few moist crumbs. Rotate the pan halfway if your oven bakes unevenly for uniform rise.
- → How do I achieve the perfect sage-green buttercream?
Use gel food coloring and add a little at a time to avoid overshooting the shade. Start with a small amount for a muted sage, then adjust. Whip the buttercream until smooth and airy for best spreadability and color consistency.
- → What's the best way to make gold accents that won't rub off?
Mix edible luster dust with a few drops of clear vanilla extract or vodka to create a paintable glaze, then brush onto piped buttercream or piped details. Alternatively, blend dust into a small portion of reserved buttercream for a marbled, more stable finish. Let decorations set before handling.
- → How can I slice neat, even squares?
Chill the frosted cake so the buttercream firms. Use a long, sharp knife dipped in hot water and wiped dry between cuts for clean edges. Mark portion lines lightly before slicing to keep sizes consistent.
- → Can I prepare components ahead of time?
Yes: bake the cooled sheet and wrap tightly, then freeze or refrigerate. Buttercream can be made 2–3 days ahead and refrigerated; bring to room temperature and re-whip before use. Assemble shortly before serving for best texture.
- → How can I adapt the cake for dietary restrictions?
Use a gluten-free flour blend in place of all-purpose flour (texture may vary). For dairy-free needs, substitute plant-based butter and milk alternatives; monitor creaming and consistency, and adjust chilling times as needed.