 Save to Pinterest
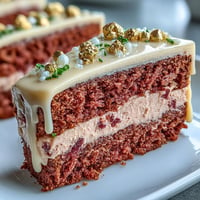
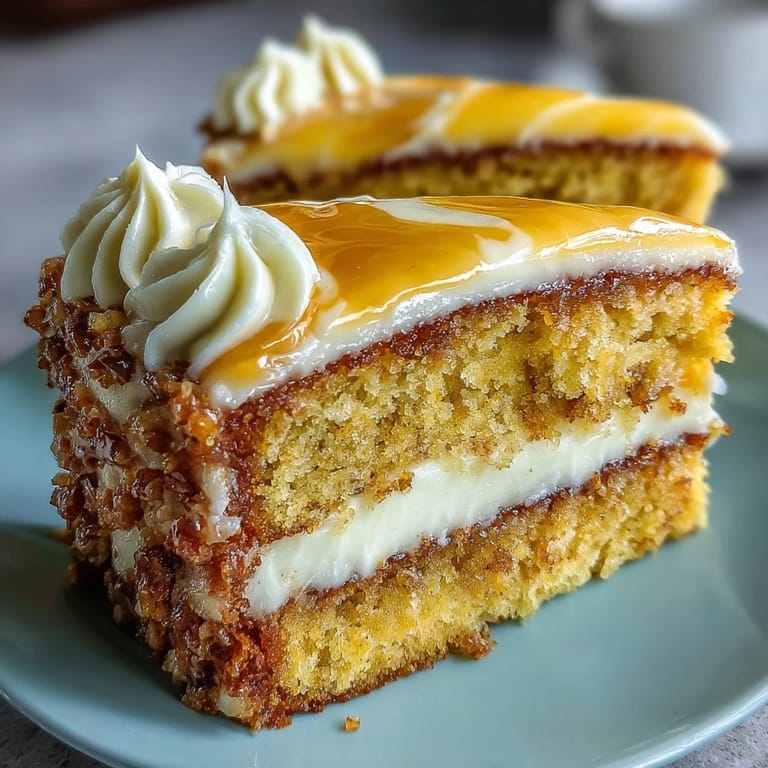
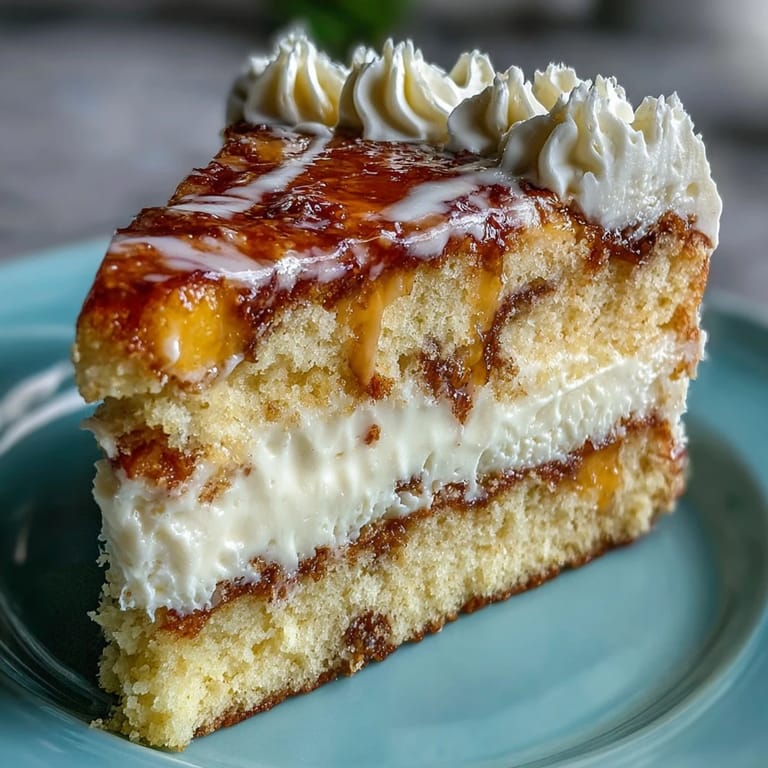
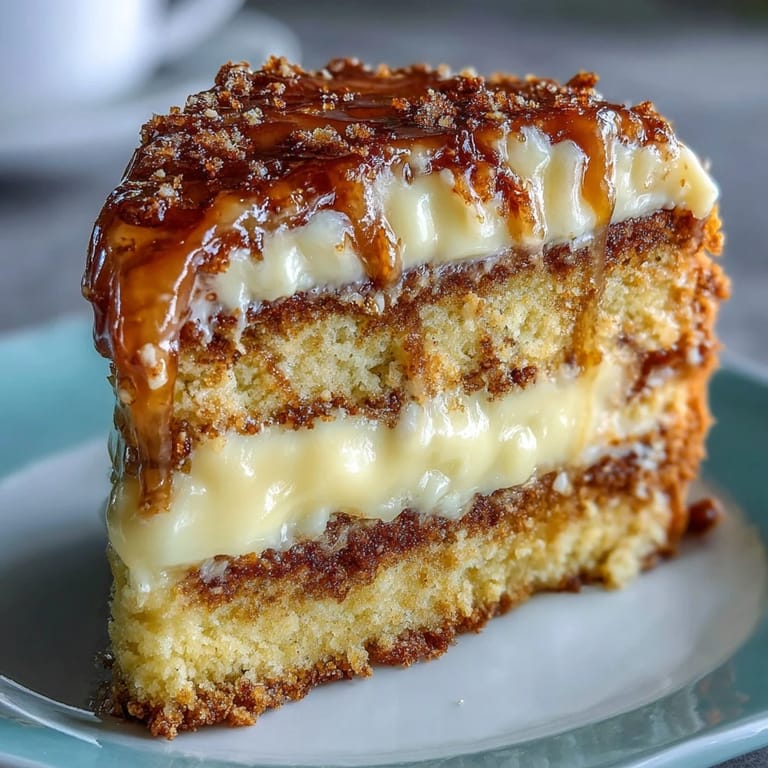
 There’s something undeniably enchanting about seeing a cake that resembles the cosmos come to life in your kitchen. The first time I attempted the Gemini Cake, I never expected to create something so visually stunning yet approachable. I still recall the delightful chaos of swirling the yellow and white batter, my kitchen filled with the sweet smell of vanilla and butter. Sometimes it feels like baking is a dance, each ingredient moving together, and this cake is the perfect melody. It’s become a staple at our family celebrations, a two-tone treat that brings smiles before the first slice is even served.
Last summer, I baked this cake for my niece's birthday party, and watching her eyes light up was priceless. She was completely captivated by the swirling colors, and I loved how the house was filled with laughter and the constant chatter of excited kids. Each slice cut into the cake revealed a mesmerizing marbled pattern, which brought cheers each time.
Ingredients
- All-purpose flour: This is the backbone of your cake, providing a perfect structure for holding everything together.
- Baking powder: A must-have to give your cake that lovely rise and fluffy texture.
- Unsalted butter: Using room-temperature butter ensures a creamy consistency when mixed.
- Granulated sugar: Adds sweetness and contributes to the cake's delightful texture.
- Eggs: Vital for moisture and binding the ingredients together.
- Vanilla extract: Enhances the flavor, bringing a warm aroma that fills the kitchen.
- Whole milk: Keeps the cake moist and rich.
- Instant vanilla pudding powder: An optional addition for an even more tender cake.
- Yellow gel food coloring: Allows you to achieve that dreamy yellow hue in the batter.
- Powdered sugar: Essential for making the creamy frosting that holds everything together.
- Vanilla extract (for frosting): A splash in the frosting adds depth to the flavor.
- Milk or heavy cream: Adjusts the frosting to that perfect spreadable consistency.
- Salt: Just a pinch balances out the sweetness of the frosting.
Tired of Takeout? 🥡
Get 10 meals you can make faster than delivery arrives. Seriously.
One email. No spam. Unsubscribe anytime.
Instructions
- Preheat the oven:
- Set it to 350°F (175°C) while you prep your pans, creating an inviting warmth in your kitchen.
- Combine the dry ingredients:
- Whisk together flour, baking powder, and salt in a medium bowl, infusing a sense of anticipation into your baking.
- Cream butter and sugar:
- Beat them until light and fluffy, about 3–4 minutes; listen for the change in sound as the texture transforms.
- Add eggs and vanilla:
- Incorporate them one by one, enjoying the colorful spectacle of the batter coming together with each mix.
- Combine wet and dry ingredients:
- Gradually add your flour mix and milk in alternating parts, stirring gently until combined, embracing that perfect cake batter consistency.
- Color the batter:
- Divide it into two bowls, adding yellow gel food coloring to one, marveling at the transformation.
- Create the marbling:
- Dollop the batters into prepared pans and swirl them gently to form a stunning marbled effect.
- Bake the cakes:
- Place them in the oven and let the aroma envelop your kitchen for 30–35 minutes, then test with a toothpick for doneness.
- Cool the cakes:
- After baking, give them a short break in the pans before transferring to a rack to cool completely.
- Make the frosting:
- Beat softened butter until creamy, add powdered sugar gradually, then mix in vanilla and milk until you reach the perfect spreadable texture.
- Assemble the cake:
- Level off your cakes if needed, stack and frost, creating a beautiful masterpiece that invites excitement at first sight.
 Save to Pinterest
 It’s incredible how a simple marbled cake can become a centerpiece, igniting conversations and making memories that linger far beyond the last slice. I often find myself suggesting it for gatherings, not just for its taste, but for the joyful moments it creates.
When Baking Goes Wrong
Even the most practiced bakers have their off days. One time, I mistakenly doubled the frosting ingredients—flavor overload, but also too sweet! It reminded me that even mishaps can spark creativity in the kitchen. The lesson? Always double-check your measurements!
Variations to Try
This cake's beauty is its flexibility. You can add lemon zest for a zesty twist, or fill it with fruit preserves to change up the flavor profile. It pairs perfectly with bubbly drinks for an elevated experience.
Storing and Serving Tips
To keep your cake fresh, store it in an airtight container at room temperature. It can also be frozen for up to three months, perfect for a pre-planned celebration.
- Let it cool completely before wrapping for freezing.
- Defrost at room temperature for the best texture.
- Consider layering with your favorite filling for an added pop of flavor.
 Save to Pinterest
 Enjoy baking this Gemini Cake as it becomes a beautiful part of your special occasions, bringing smiles and deliciousness into every slice.
Common Recipe Questions
- → What is the best way to store the cake?
The cake can be stored in an airtight container at room temperature for up to 3 days or in the refrigerator for up to a week.
- → Can I make the cake ahead of time?
Yes, you can bake the layers ahead of time and freeze them. Just ensure they are tightly wrapped before freezing.
- → What can I substitute for butter in the frosting?
You can use vegan butter or a plant-based margarine for a dairy-free frosting option.
- → How do I achieve the marbled effect?
Dollop alternating spoonfuls of batters into the pan and swirl gently with a skewer or knife to create a marble pattern.
- → Is there a gluten-free option for this cake?
Yes, you can substitute all-purpose flour with a gluten-free blend that measures 1:1 for best results.
- → What flavors pair well with this cake?
This cake pairs beautifully with fruit preserves, lemon curd, or a glass of sparkling wine for a delightful experience.