 Save to Pinterest
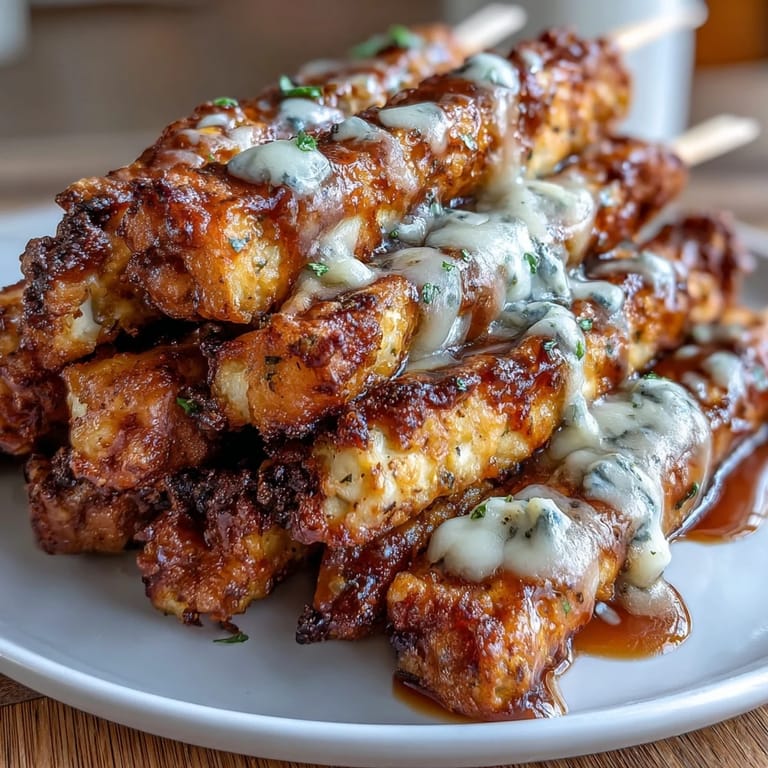
 There's something about race day that demands snacks with personality. A few years back, I was scrambling to put together a spread for a Derby watching party when my neighbor stopped by with a tin of homemade cheese straws—golden, crispy, with just enough cayenne heat to make you reach for another. She wouldn't share her recipe, but that buttery, cheesy crunch stuck with me for months. Eventually I reverse-engineered it in my own kitchen, and these straws have become my go-to when I need something that looks fancy but feels casual.
I made these for the first time when my sister texted asking if I could bring something 'fancy but easy' to her Kentucky Derby party. I'd never made cheese straws before, so I was nervous about the texture—would they be tough? Greasy? But the moment they came out of the oven, our kitchen smelled like a Southern bistro, and my doubts evaporated. Watching people at the party pick them up two or three at a time, completely forgetting about their mint juleps, felt like a small victory.
Ingredients
- Sharp cheddar cheese, freshly grated (1 ½ cups): Freshly grated cheese melts more evenly than pre-shredded, and sharp varieties give real depth—avoid the mild stuff for this one.
- Parmesan cheese, finely grated (½ cup): This adds that salty, umami punch that makes people wonder if there's anchovy hiding in there somewhere.
- Unsalted butter, cold and cubed (½ cup): Cold butter is non-negotiable here; it's what creates those flaky, crispy layers.
- All-purpose flour (1 ¼ cups): Just enough to bind everything without making these dense or bread-like.
- Cayenne pepper (½ teaspoon): Start here and taste as you go—heat preferences vary wildly, and you can always add more next time.
- Fine sea salt (½ teaspoon): Balances the cheese and heat without overwhelming.
- Freshly ground black pepper (¼ teaspoon): Adds a gentle spice that rounds out the cayenne's sharpness.
- Cold water (1–2 tablespoons, optional): Only use this if your dough feels too crumbly; too much and you'll lose the tender texture.
Tired of Takeout? 🥡
Get 10 meals you can make faster than delivery arrives. Seriously.
One email. No spam. Unsubscribe anytime.
Instructions
- Set your oven and prep your space:
- Preheat to 375°F and line your baking sheet with parchment paper so nothing sticks and cleanup is painless.
- Build the dough in the food processor:
- Pulse together the cheddar, Parmesan, flour, cayenne, salt, and black pepper until everything is evenly mixed. The color should be mottled with cheese throughout, not uniform.
- Cut in the cold butter:
- Add your cubed butter and pulse—don't run the processor continuously or you'll warm everything up and lose that crispy texture. You're aiming for coarse crumbs, like damp sand.
- Bring it together gently:
- If the dough feels too dry and won't hold together when you squeeze it, add cold water one tablespoon at a time. Less is more; you want it just barely cohesive.
- Roll and shape:
- Turn the dough onto a lightly floured surface and roll to about ¼ inch thick—a rolling pin works best, but the bottom of a measuring cup works in a pinch. Cut into strips roughly ½ inch wide and 6 inches long.
- Arrange and bake:
- Space the strips slightly apart on your prepared baking sheet so they have room to crisp up evenly. Bake for 12–15 minutes until they're deep golden brown and smell irresistible.
- Cool with patience:
- Let them sit on the baking sheet for 5 minutes—this helps them set and crisp up further—then transfer to a wire rack. They'll continue crisping as they cool completely.
 Save to Pinterest
 The first time I pulled a batch from the oven too early because I was afraid of burning them, they came out tender instead of crispy, almost like shortbread. My husband ate three before declaring them delicious but 'not quite right.' It taught me to trust the golden color and let them bake all the way through; now when they're done, they literally shatter between your teeth.
Variations Worth Trying
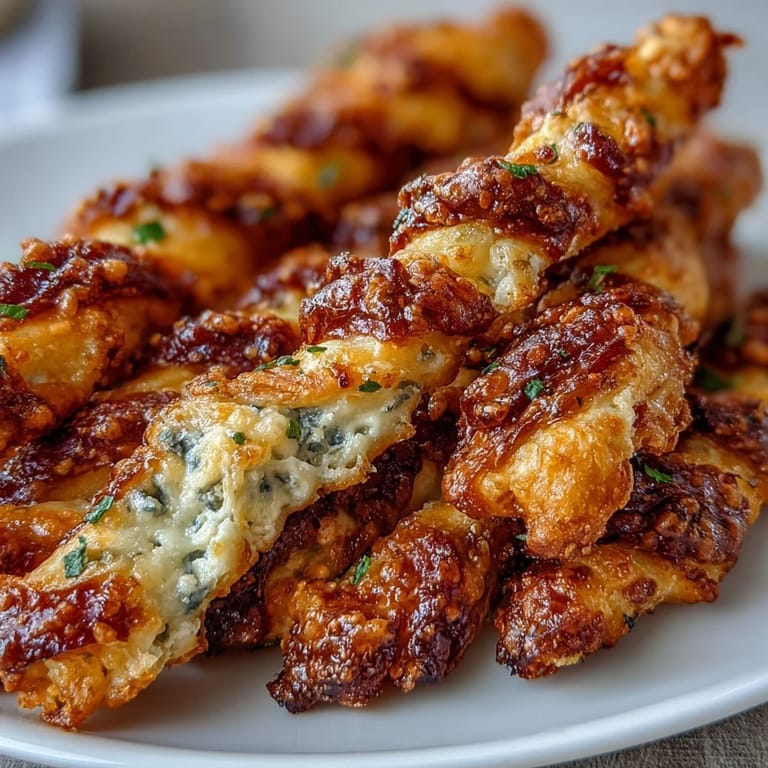
Once you nail the basic recipe, the fun begins. I've added smoked paprika for a barbecue vibe, mixed in finely chopped fresh rosemary for an herb-forward version, and even dusted them with everything bagel seasoning before baking. A friend twisted hers into spirals before baking, and they looked like edible art—totally worth the extra thirty seconds per straw.
Storage and Make-Ahead Strategy
These straws keep in an airtight container for about five days, though they rarely last that long in my house. If they do soften, pop them in a 300°F oven for a few minutes to re-crisp. You can also make the dough up to two days ahead and keep it wrapped in the fridge, then roll, cut, and bake when you're ready—this actually makes them easier to slice evenly because the dough is firmer.
The Derby Day Moment
These straws have become my secret weapon for any gathering where I want to contribute something that feels special without spending hours in the kitchen. They pair beautifully with mint juleps, but they're equally at home next to a cheese board or piled into a tin as a hostess gift. There's something about watching people's faces light up when they taste that combination of buttery, cheesy, and spicy that makes the 30 minutes feel completely worth it.
- Make extra—people always ask for more, and you'll want some for yourself anyway.
- If serving cold or at room temperature, store them in a tin to keep moisture out and crispness locked in.
- These freeze beautifully either baked or unbaked, so make a double batch and thank yourself later.
 Save to Pinterest
 There's a reason these little straws show up at my table again and again—they're foolproof, impressive, and honestly just fun to make. Once you've got the technique down, you'll be inventing new flavor combinations and wondering why you didn't start making them sooner.
Common Recipe Questions
- → What cheeses are used in these cheese straws?
Sharp cheddar and finely grated Parmesan cheese are combined for a rich, savory flavor.
- → How is the spicy note added to the straws?
A small amount of cayenne pepper is incorporated to provide a subtle, warming heat.
- → Can the dough be adjusted if too dry?
Yes, add cold water one tablespoon at a time until the dough just comes together.
- → What is a good way to bake the straws evenly?
Space the strips slightly apart on a parchment-lined baking sheet and bake at 375°F until golden and crisp.
- → Are there methods to enhance presentation?
Twisting the dough strips before baking or sprinkling smoked paprika on top adds decorative flair and extra flavor.
- → What kitchen tools are recommended for preparation?
A food processor, rolling pin, baking sheet, and wire rack are helpful to create and cool the straws.