 Save to Pinterest
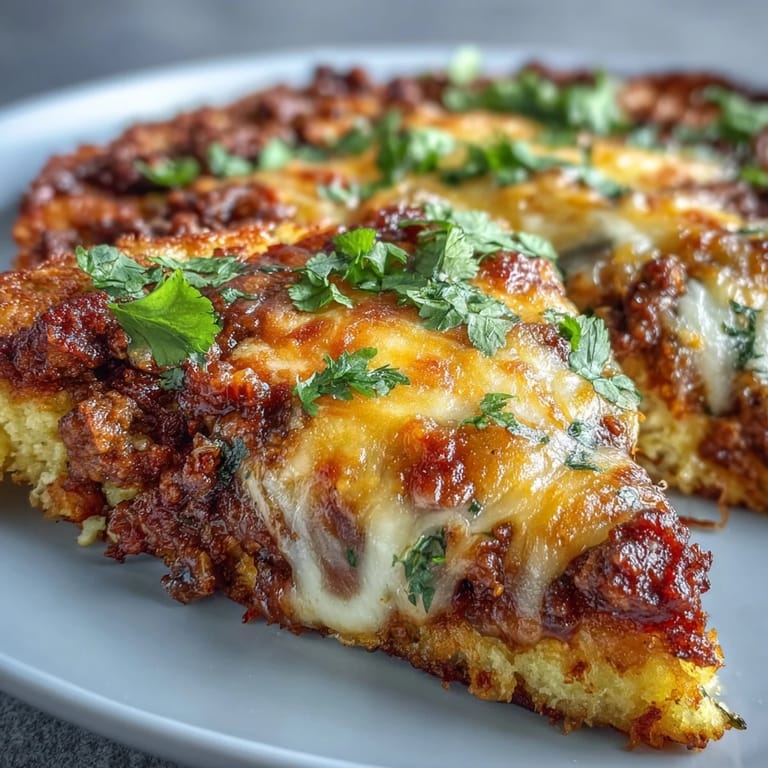
 I stumbled onto this skillet one random Tuesday while standing in front of my fridge, staring at a head of cauliflower and wondering if I could finally make something that didn't taste like I was punishing myself for carbs. The idea hit me suddenly: what if I treated cauliflower like dough, pressed it into a skillet, and loaded it up like a taco bar? Twenty minutes later, melted cheese bubbling under the broiler, I realized I'd accidentally created something my entire family actually wanted seconds of.
My partner walked into the kitchen mid-cook and asked what smelled so good, genuinely suspicious it was takeout hidden in a container. When I told him it was cauliflower crust, he laughed until he tasted it and went completely quiet in that way that means he's already planning to ask for it again tomorrow.
Ingredients
- Medium head of cauliflower (about 600 g): The foundation of everything, and the secret is processing it until it looks like actual rice, not chunky mush.
- Large egg: Acts as your binder, holding the cauliflower together without needing flour or breadcrumbs.
- 1 cup shredded mozzarella cheese: The moisture and stretch that makes this feel like real crust, not a sad veggie patty.
- 1/4 cup grated Parmesan cheese: Adds that nutty depth and helps the crust get golden and crispy at the edges.
- 1/2 tsp garlic powder, 1/2 tsp salt, 1/4 tsp black pepper: Season the crust itself so every bite has flavor, not just the toppings.
- 1 lb ground beef (80/20 blend): The fattier blend actually tastes better and keeps the filling moist without drying out.
- 1 small onion, finely chopped: Adds sweetness and body to the meat mixture as it softens down.
- 2 cloves garlic, minced: Layer this with the garlic powder for depth that makes people ask what your secret is.
- 2 tbsp tomato paste: Concentrate of flavor that rounds out the spices and prevents the filling from tasting one-dimensional.
- 1 tbsp chili powder, 1 tsp cumin, 1/2 tsp smoked paprika: This trio is the backbone of taco flavor, and yes, they all matter.
- 1/3 cup water: Creates sauce instead of just seasoned meat, so every forkful feels saucy and complete.
- 1 cup shredded cheddar cheese for topping: The final melt that makes people forget entirely they're eating cauliflower.
- Diced tomato, fresh cilantro, sliced olives: These bright, fresh toppings cut through the richness and make it feel like actual food, not diet food.
- Sour cream (optional): The cooling element that ties everything together if you like a bit of tang.
Tired of Takeout? 🥡
Get 10 meals you can make faster than delivery arrives. Seriously.
One email. No spam. Unsubscribe anytime.
Instructions
- Prep and preheat:
- Set your oven to 425°F before you do anything else, because you want it hot and ready when your crust mixture is done.
- Rice your cauliflower properly:
- Pulse the florets in a food processor until they look like fine rice grains, not paste. Microwave for 5 minutes to soften them, then spread on a clean kitchen towel and squeeze out every bit of moisture you can manage, which is the difference between a crust that holds together and one that falls apart.
- Make the crust mixture:
- Combine the riced cauliflower with egg, mozzarella, Parmesan, garlic powder, salt, and pepper until it feels like a cohesive dough. It should hold together when you press it, but not be wet.
- Press and pre-bake:
- Transfer everything to your oven-proof skillet and press it firmly and evenly into the bottom, creating a base about 1/2 inch thick. Bake for 15 minutes until it's golden at the edges and feels set when you touch it.
- Brown the meat:
- While the crust bakes, heat a nonstick skillet over medium-high and add ground beef, breaking it apart with a wooden spoon as it cooks. This takes about 5 to 6 minutes, and you'll know it's ready when it's no longer pink and starting to brown in spots.
- Build the taco base:
- Pour off excess fat if there's more than a tablespoon or two, then add chopped onion and cook for 2 to 3 minutes until it softens and releases its sweetness. Add minced garlic, tomato paste, chili powder, cumin, smoked paprika, salt, and pepper, stirring constantly for 1 minute so the spices toast slightly and bloom.
- Simmer for depth:
- Add water and let everything simmer gently for 2 to 3 minutes until the liquid thickens slightly and coats the meat. The sauce should be thick enough to cling to the meat but still saucy, not dry.
- Assemble:
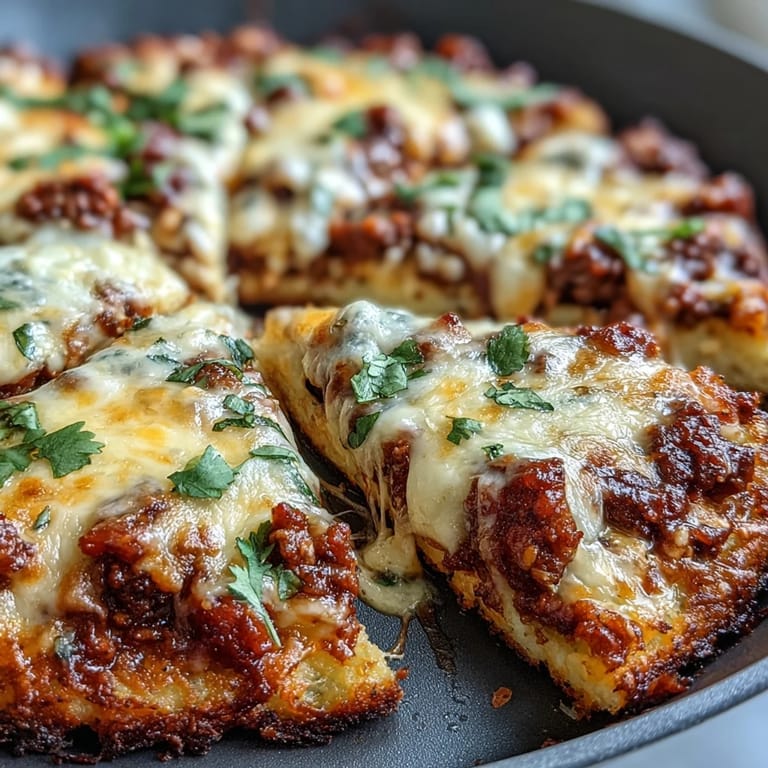
- Remove the crust from the oven, spoon the taco meat evenly over the top, scatter cheddar cheese across everything, and add sliced olives if you're using them. Return to the oven for 5 minutes until the cheese is melted and bubbling at the edges.
- Finish and serve:
- Take it out of the oven, top with fresh diced tomato and cilantro so they stay bright and crunchy, then serve with sour cream on the side for people to add as much or as little as they want.
 Save to Pinterest
 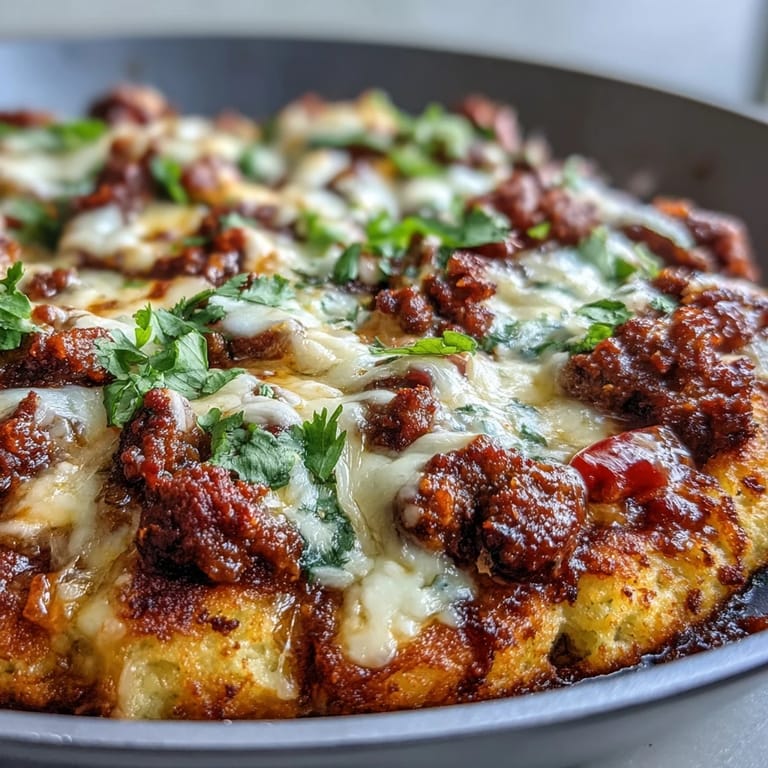 Save to Pinterest
 One Sunday, my mom came over expecting a typical keto meal she could politely pick at, and instead she asked for the recipe and admitted it was actually delicious. Watching someone's face change when they realize their food doesn't have to be boring to fit their life is honestly one of my favorite kitchen moments.
Why This Works as a Keto Meal
The genius of this skillet is that it satisfies every craving a taco normally would, just structured differently. You get the salty, seasoned meat, the melted cheese, the fresh toppings, and the sour cream dollop, but your body doesn't crash from refined carbs an hour later. The cauliflower crust isn't trying to fool you into thinking it's a tortilla; it's actually crispy and cheesy and worth eating for its own sake, which is the only way these substitutions ever work.
Customizing to Your Mood
The skeleton of this recipe is solid, but the way you outfit it depends entirely on what you're craving that day. If you want heat, jalapeños sliced thin go into the beef mixture, or hot sauce drizzled on top after baking. If you want richness, add a handful of shredded cheese to the sour cream for a sauce. If you want freshness, load it with shredded lettuce, avocado slices, or pickled red onions after baking so they stay crisp and provide contrast.
Timing and Make-Ahead Options
The whole thing comes together in 40 minutes start to finish, which is honestly faster than the mental energy it takes to decide on takeout. You can also make the crust base the day before, refrigerate it, and just top it with meat and cheese when you're ready to eat, though it bakes a few minutes longer from cold.
- The meat filling reheats perfectly, so you can make it earlier in the day and warm it gently before topping the crust.
- Once assembled and baked, leftovers stay good for 3 days in the fridge and reheat nicely under a foil tent in the oven at 350 degrees.
- If you're feeding picky eaters, let everyone customize their own toppings rather than mixing everything together, which gives you one less thing to negotiate about.
 Save to Pinterest
  Save to Pinterest
 This skillet keeps coming back into rotation because it checks every box: it tastes intentional and delicious, it fits the way I actually want to eat, and it's easy enough to make on a random Tuesday without drama. That's the recipe worth keeping.
Common Recipe Questions
- → Can I make the cauliflower crust ahead of time?
Yes, you can prepare the crust up to 24 hours in advance. Bake it completely, let it cool, and store it covered in the refrigerator. When ready to serve, add the toppings and bake for 5-7 minutes to reheat and melt the cheese.
- → What other proteins work well with this dish?
Ground turkey, chicken, or pork make excellent substitutes for beef. For a vegetarian version, use crumbled tempeh or a plant-based meat alternative seasoned with the same taco spices. Cooking times may vary slightly depending on your protein choice.
- → How do I prevent the cauliflower crust from getting soggy?
The key is removing as much moisture as possible from the riced cauliflower. After microwaving, let it cool slightly, then squeeze it firmly in a clean kitchen towel until no more liquid releases. This step ensures a crispy, sturdy crust that holds up under the toppings.
- → Can I freeze the finished skillet?
While possible, freezing may affect the crust's texture. For best results, freeze individual portions in airtight containers. Reheat in a 350°F oven for 15-20 minutes to restore crispiness. The microwave works but will make the crust softer.
- → What vegetables can I add to increase nutrition?
Bell peppers, zucchini, or spinach can be mixed into the taco meat during cooking. Add diced bell peppers with the onion, or stir in chopped spinach when adding the water. These additions boost fiber and vitamins without compromising the low-carb profile.