 Save to Pinterest
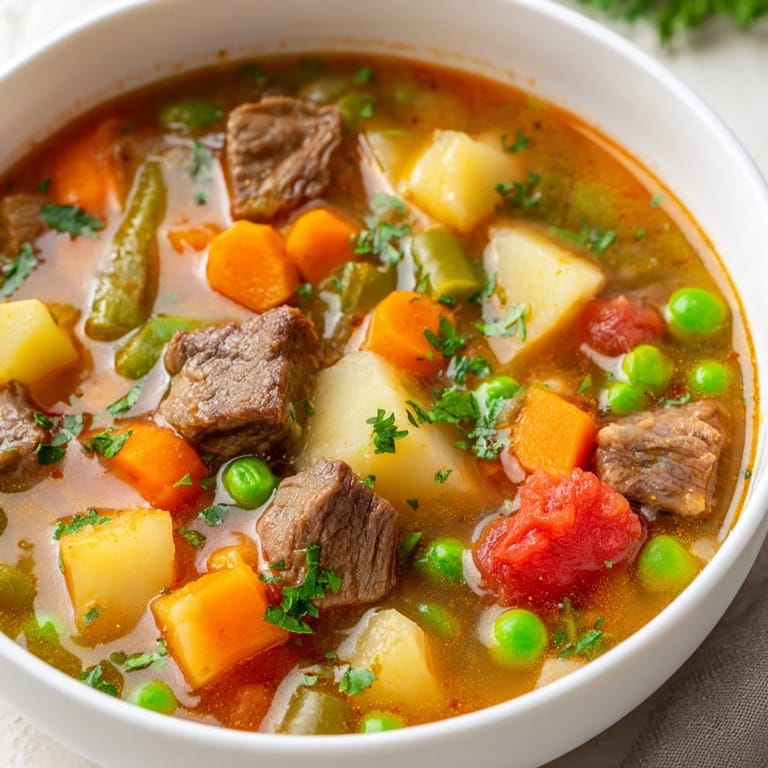
 The wind was howling against my kitchen windows last February when I decided I needed something that would fill the whole house with warmth. My grandmother used to say soup is better when you take your time with it, and I finally understood what she meant during a snowed-in weekend with nowhere to be.
I once made a triple batch for a friend recovering from surgery, and her text afterward said it was like getting a hug in a bowl. Something about beef and vegetables together feels primal in the best way possible, the kind of nourishment that settles deep in your bones.
Ingredients
- Beef chuck: Chuck has the perfect marbling for long cooking, becoming fork tender while staying intact
- Olive oil: Use a neutral oil here since we want the beef flavor to shine through
- Onion: Diced small so it practically melts into the broth as it simmers
- Garlic: Add it after the other vegetables have started softening so it does not burn
- Carrots: Slice them about 1/4 inch thick so they cook through but do not turn to mush
- Celery: This provides the aromatic backbone that makes soup taste like soup
- Potatoes: Yukon Gold hold their shape beautifully while becoming creamy inside
- Parsnip: Completely optional but adds a lovely subtle sweetness if you have one
- Green beans: Fresh ones work best here, adding a pop of color and texture
- Peas: Frozen are perfect since they go in at the very end
- Diced tomatoes: Keep all that juice, it becomes part of the broth
- Beef broth: Good quality broth matters since it is the main liquid
- Bay leaves: Do not skip these, they add an earthy depth you will notice
- Dried thyme: This brings a gentle piney flavor that pairs so well with beef
- Dried oregano: Adds a subtle floral note that keeps the soup from tasting flat
- Fresh parsley: Scatter this over each bowl right before serving for brightness
Tired of Takeout? 🥡
Get 10 meals you can make faster than delivery arrives. Seriously.
One email. No spam. Unsubscribe anytime.
Instructions
- Get your beef sizzling:
- Heat the oil in your large pot until it shimmers, then add the beef cubes in a single layer. Let them develop a deep brown crust on all sides, working in batches if your pot is crowded so they sear instead of steam.
- Build the flavor foundation:
- In that same gorgeous beef flecked pot, toss in your onions, carrots, and celery. Let them soften and pick up all those browned bits on the bottom for about five minutes, then add the garlic for just one minute more until fragrant.
- Bring everyone together:
- Return the beef to its pot and add everything else except the peas. That means the potatoes, parsnip if you are using it, green beans, tomatoes with all their juice, broth, and all your herbs and seasoning.
- Let time do the work:
- Bring the pot up to a bubble, then turn it down to the barest simmer and put the lid on. Walk away for an hour and fifteen minutes, giving it an occasional stir, until the beef yields easily when you poke it.
- Finish with freshness:
- Toss in the frozen peas and cook for another ten to fifteen minutes with the lid off. Fish out the bay leaves, taste the broth, and add more salt if it needs it.
- Serve it like you mean it:
- Ladle the soup into warmed bowls and scatter fresh parsley over each one. Watch the steam rise and know you made something that will make people feel cared for.
 Save to Pinterest
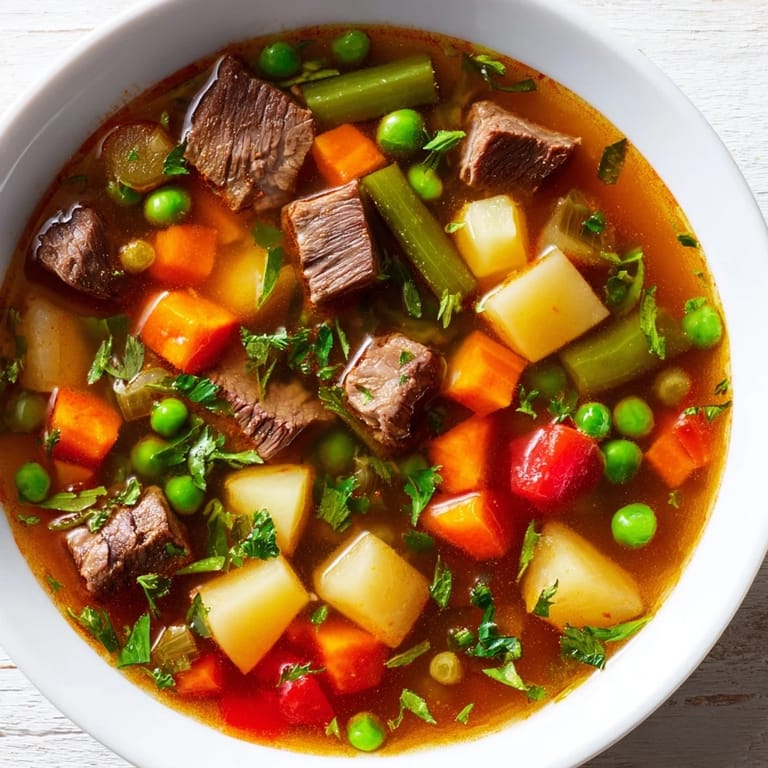
 My neighbor started leaving empty Tupperware on my porch after that first winter, her polite way of asking for more without having to say it out loud. Now I keep a stash of portioned containers in my freezer, ready for moments when someone needs feeding.
Making It Your Own
Once you have the basic technique down, this soup becomes a canvas for whatever you have in the crisper drawer. I have added turnips, swapped green beans for corn, even thrown in a handful of spinach at the very end when I wanted something green.
The Bread Question
A slice of crusty bread is not optional, at least not in my house. I have started making extra just so I can dunk it into the broth until it is soaked through and falling apart, which is honestly the best part of the whole experience.
Leftovers Are Better
Something magical happens overnight in the refrigerator. The flavors marry and deepen in ways they cannot in one cooking session, so I always try to make this a day ahead if I am serving it to guests.
- Cool the soup completely before refrigerating to preserve the texture
- The broth will thicken as it sits, which is perfectly normal
- Reheat gently so the beef does not toughen back up
 Save to Pinterest
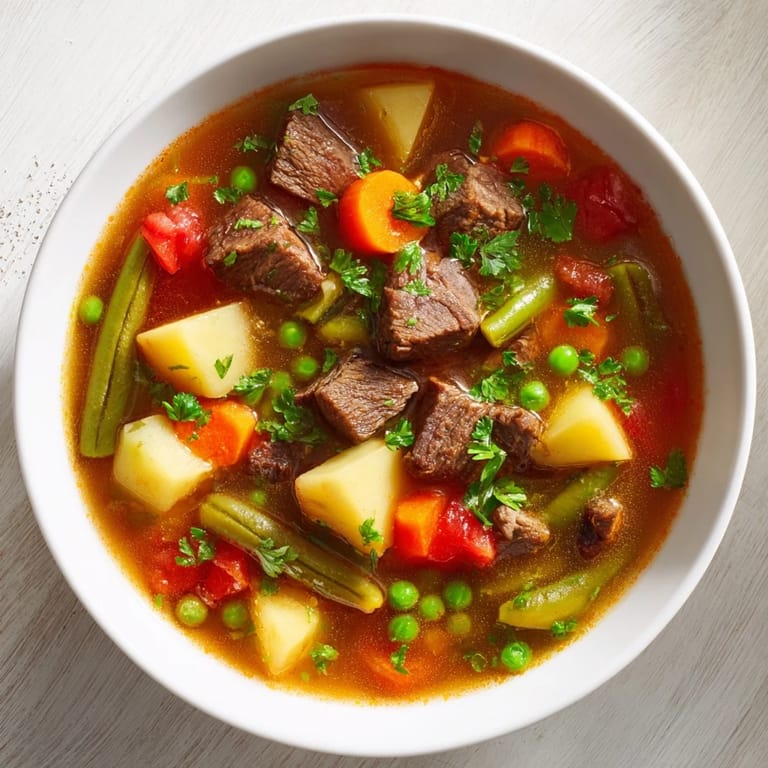
 There is something profoundly satisfying about making food that tastes better than anything you could buy, especially when it is this simple and honest. Soup is love you can eat.
Common Recipe Questions
- → How long does the beef need to cook until tender?
The beef chuck simmers for about 1 hour 15 minutes covered, then an additional 10-15 minutes uncovered with the peas. This slow cooking method breaks down the connective tissue, resulting in fork-tender beef that melts in your mouth.
- → Can I use a different cut of beef?
While beef chuck is ideal for its rich flavor and tenderness when slow-cooked, you can substitute beef stew meat, round, or brisket. Avoid lean cuts like sirloin as they may become tough during long simmering.
- → What vegetables work best in this soup?
Root vegetables like carrots, potatoes, and parsnips hold up well during long cooking. Celery, onions, and garlic build the flavor base, while green beans and peas add freshness and color. Feel free to add turnips or sweet potatoes too.
- → Does this soup freeze well?
Yes, this soup freezes beautifully for up to 3 months. Cool completely before transferring to airtight containers. Thaw overnight in the refrigerator and reheat gently on the stovetet, adding a splash of broth if needed.
- → How can I deepen the flavor?
Brown the beef well before simmering to develop rich, caramelized notes. A splash of Worcestershire sauce or smoked paprika adds umami depth. Letting the soup sit overnight allows flavors to meld and intensify.
- → Is this suitable for meal prep?
Absolutely. This soup actually tastes better the next day as flavors continue to develop. Store in the refrigerator for up to 4 days in airtight containers. Reheat individual portions on the stove or in the microwave.